Showing posts with label tutorials. Show all posts

Thursday, November 13, 2014

How I Quilt - Centering Triangles

I've made a good bit of progress on my Sunnyside quilt - as a matter of fact, it's finished! I finished it last week sometime (or maybe even the week before??) but as I've been working day shift lately, it's dark when I get up to go to work and it's dark when I come home, so alas, no pictures yet. Soon, though!

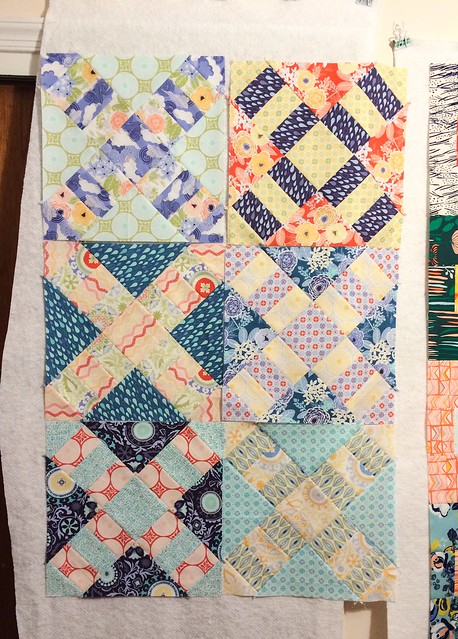
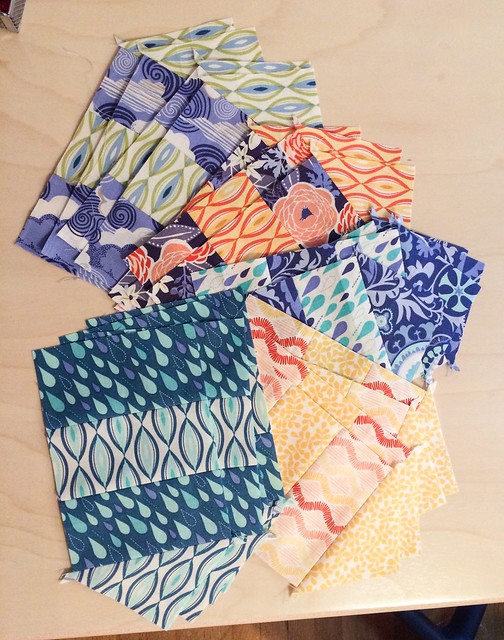
One of the steps of this quilt involve ending a column of piecing with a triangle, which becomes the corner of the block. (Here is a reference for the finished block, in case you've forgotten. Which I wouldn't blame you for...)


Sunnyside

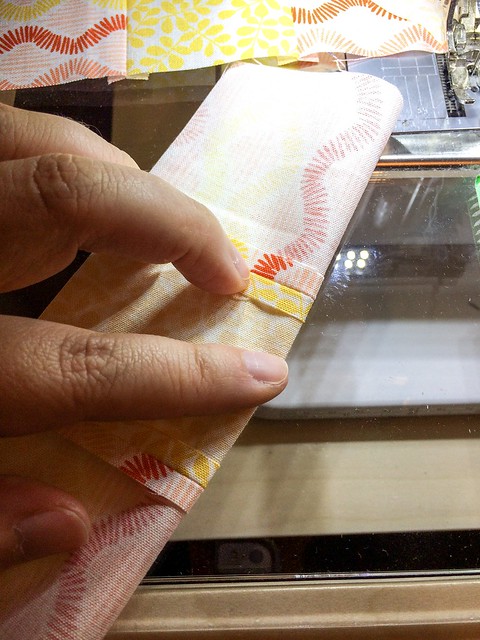
There are lots of different ways to make sure your triangles end up centered, but here is how I do it:

Fold it in half lengthwise and finger press...

Untitled


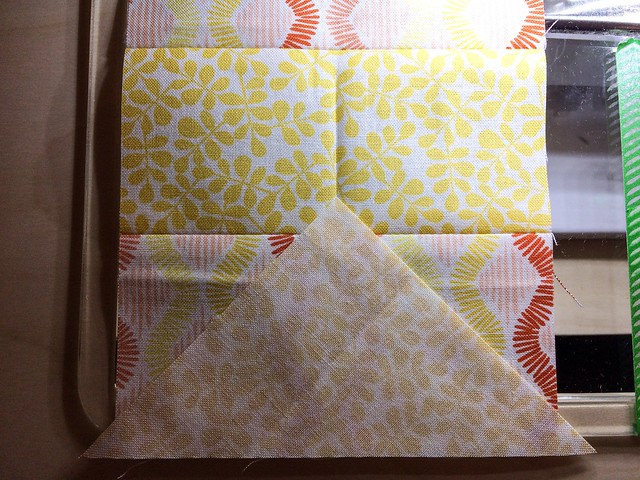
Line up the point of the triangle with the press line...

Untitled


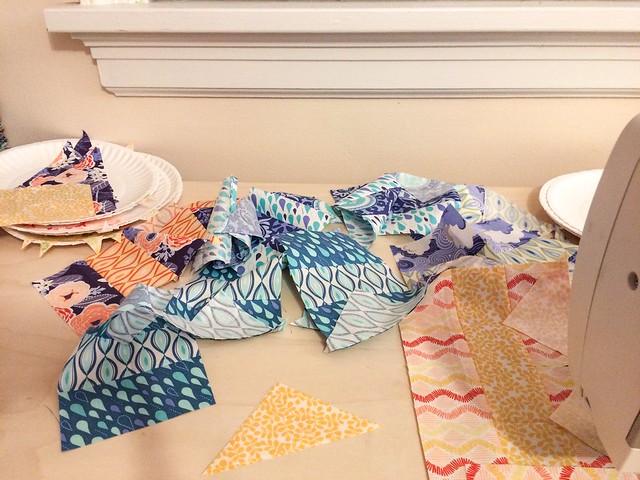
Chain piece the crap out of that ish...

Untitled


Hey look! You're done! So pretty and symmetrical! Makes it so much easier to square up these blocks!

Untitled

Hopefully I'll have a change to photograph this quilt over the weekend. Maybe I'll baste it too?? Let's not get ahead of ourselves...

Tuesday, August 27, 2013

Easy-Peasy 9 Patch

I've said before that I've never actually taken a piecing class, and that I'm self-taught. So basically, I have no idea how everyone else does this, but I wanted to share with you how I do my 9-patch blocks.

I've used this technique with Georgia on My Mind, as well as my current WIP, the Luxe in Bloom churn dash.

Start with your 9 squares, and lay them out how you want them in the final block.

Luxe In Bloom 9-patch tute


Lay the middle column on top of the first column, right sides together, and chain piece per usual. DO NOT cut these pieces apart!

Luxe In Bloom 9-patch tute


Open your top pair of squares, and put the top square of the third column on the middle column square, and chain piece that last column onto the first two.

Luxe In Bloom 9-patch tute


Just keep it goin'...

Luxe In Bloom 9-patch tute


Then you're left with a half-finished block that you can toss around and not worry about the pieces getting mixed up. I do it like this so I can do a mess-load of blocks together, assembly-line style!

Luxe In Bloom 9-patch tute


Toss them in a pile together, no worries!

Luxe In Bloom 9-patch tute


Once you've pieced a mess-load of blocks (I usually do ten or so at a time) then you can press the seams in alternating directions.

Luxe In Bloom 9-patch tute


These are all pressed and folded into thirds, ready for the last two seams!

Luxe In Bloom 9-patch tute


Nest the seams, don't worry about clipping the threads from the chain piecing, and finish the block.

Luxe In Bloom 9-patch tute


All done! When I'm on a roll with these, I can typically do ten-ish in about two hours.

Luxe In Bloom 9-patch tute


Does anyone (or everyone?) else do it like this? I really have no idea if this is helpful or not, and I'm sure it's not groundbreaking or anything. What do you think?

Friday, November 23, 2012

Nightshade

I hope everyone has had a good Thanksgiving!

After putting the binding on the sampler the other night, I felt like I was kind of on a roll. I decided to make an eye mask. If you haven't noticed, I do most of my quilting  late at night, which means that I end up sleeping long after the sun has come up. After I painted my room, I took down the blackout curtains - because face it, that's not cute. I had an old eye mask that I couldn't find, so i decided to make a new one. I happened to have some fq's of Nightshade by Tula Pink on hand, and that was perfect. :-)


I've never done this before (like usual...) so I just drew the general shape I was going for on a piece of muslin. I used the muslin to trace the shape onto the fabric, fussy cutting both prints.


I cut some layers of batting and blackout fabric as well, and layered everything up with the right sides of the prints together on top. Though in this picture, I haven't put the light purple print on yet...


Stitch around the top and bottom, leaving about an inch and a half or so open on BOTH ends. Turn it right side out. Mutter profanities as you do so.


Once this is done, take a length of elastic and measure it around your head while holding the mask up to your eyes.


Put each end of the elastic inside the open sides, turn the edges in to *sort of* match the edges that are already stitched. Pin like crazy. This part will be frustrating, just so you know. I ended up trimming the sides of the batting layer so that there was less to deal with when turning the sides in by hand.


Stitch again around the whole thing, securing the elastic and closing the sides. All done!


The finished product is nothing to write home about - the stitching is not straight, the pinned sides are not as smooth as I'd like, and where the elastic goes in the sides are not even! There were actually several things that I would do a little differently if I do this again;

~ I think I would go ahead and pin and stitch the elastic to the sides during the FIRST round of stitching (carefully putting the elastic in between the layers to make sure I don't stitch over more than just the ends).
~ That would leave the TOP open to turn it right side out, which would be much easier to turn in and stitch.
~ I might consider putting more batting in, to make it fluffier, or using minky or something for the side of the mask that goes towards the face. Or maybe that would be too hot?

Let me know if you've done something like this without any pattern/direction, and how it went!