Showing posts with label Non-Quilty Sewing. Show all posts

Sunday, August 17, 2014

I made something!

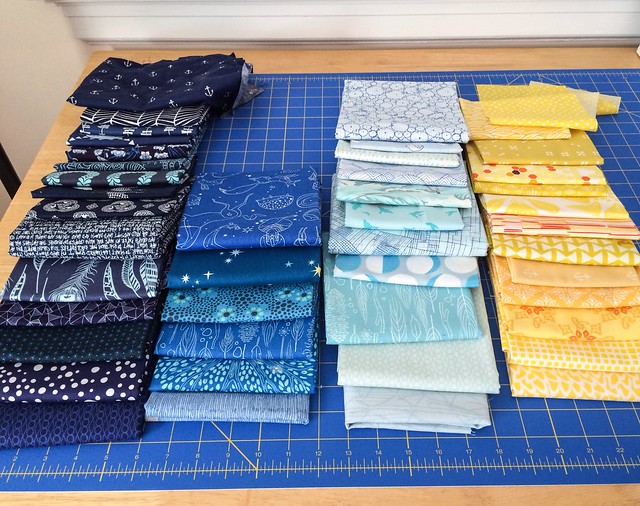
Do me a favor and reach back into your Ancient History archives and recall this pull:

Untitled


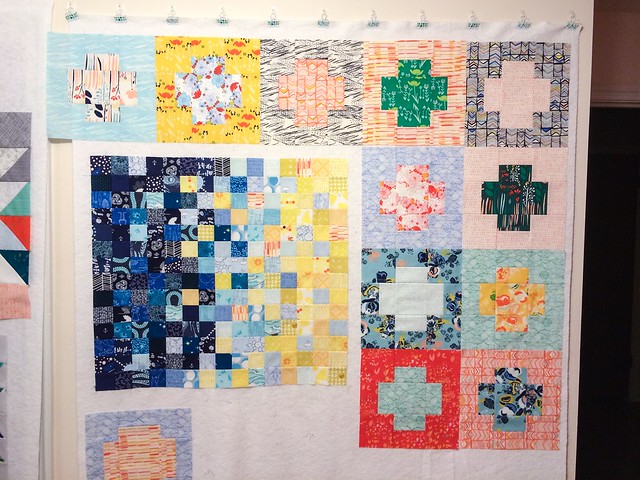
Yeah. That sat on my sewing table for aaaaaages. Once the semester (or two...) got out and I had more than one day off, I finally cut into it. You might remember this from the other day:

Untitled


Well after finally playing with that fabric, I put it all together and quilted it with NOT gray(!!)...

Untitled


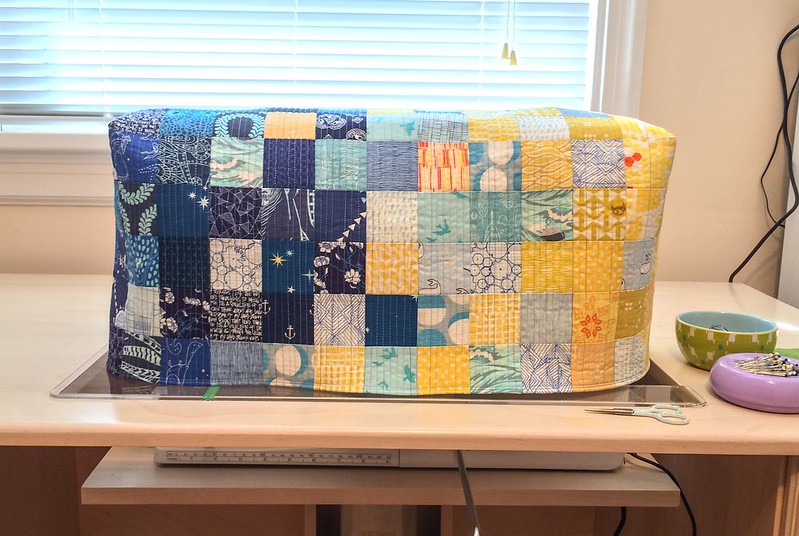
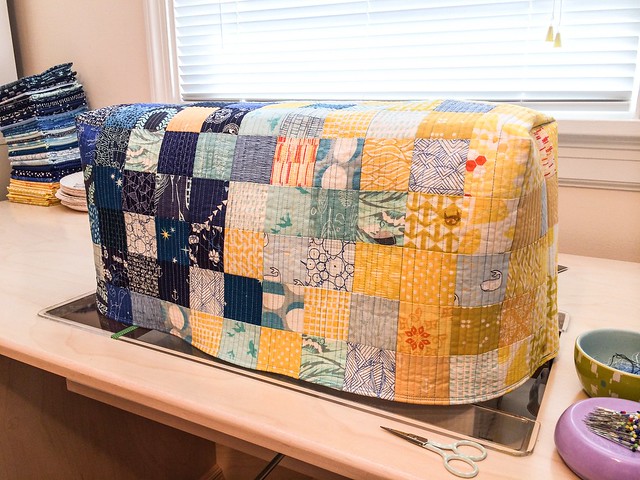
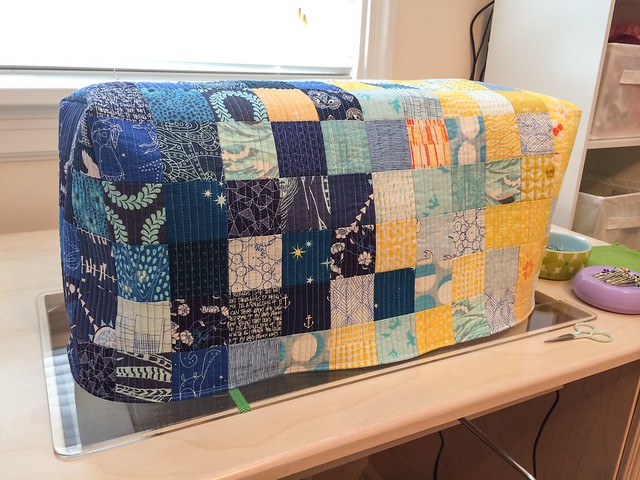
It became this!! Since I got my drop-in sewing table in late February, I've still been using the cover that came with the machine. But since the machine is recessed now, the old cover is way too big. So I upgraded Bridget's duds!

Untitled

Untitled

Untitled


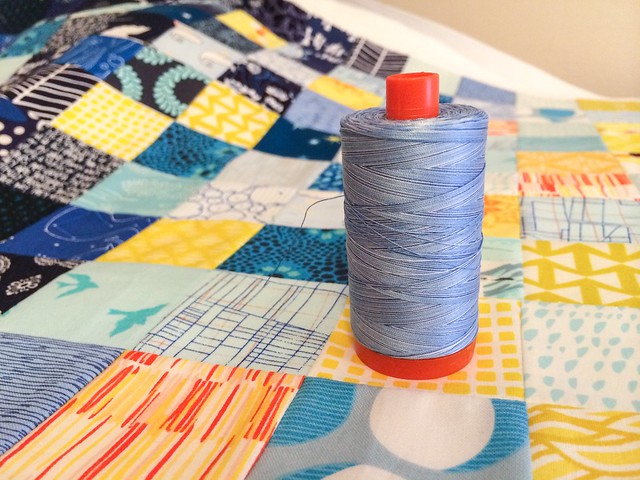
I quilted it with blue and yellow variegated Aurifil and the fabrics are some of my Very Favorites, so I'm super stoked to be able to look at this every day instead of the plain boring old one. Yay!

Wednesday, December 11, 2013

I actually do still have a sewing machine...

But she's been feeling neglected with all the knitting that's going on. So the other day I was planning to go to visit my family for the day and I wanted to take some knitting with me.

But I couldn't have it rolling around in my purse or something, getting all unraveled and nubby and whatnot. So I needed to rectify that, right?

I whipped up this little cutie before breakfast, and then headed out for a mini road trip.

Untitled


I love how Charlotte totally photobombed this one. She burrowed under the maple quilt a few seconds later. This is definitely snuggling season!

Have you been doing any quickie sewing lately? Some instant gratification perhaps?


the deets:
Fabric: Sunnyside by Kate Spain
Pattern: Noodlehead's Open Wide Pouch
Sewn on my Bernina with Aurifil 2600 (the perfect gray that matches literally everything!)

Friday, May 3, 2013

Some Instant Gratification...

The other day I mentioned that I was doing some quick, instant gratification projects to balance out the big quilts I'm working on. I shared the Summer bag last week, some Noodlepouches before that, and now I'm showing you another!

This is a tutorial that Elizabeth did for Sew Mama Sew a while back, and has been on my to do list (aka Pinterest) for ages. The other night I decided to just go ahead a give it a try!

I made the thread catcher first, so at least if I lost interest before finishing the rest I would have something useful to show for it...


I like it a lot, so I went ahead and did the pincushion/pocket part. This thing is so cute!


Right now I have it on the edge of my machine table, but I've been moving it around a lot. I might move it to the arm of the couch, for handwork projects. I always seem to have a little pile of threads on the side table... and a couple needles stuck in the arm of the couch. Not the safest thing ever with my little monkey in the house...

Monday, April 29, 2013

Trial and Error

So. Some info on the summer bag.

I got the fabric from Joann's, the white and solid pink are duck cloth, and the ikat chevron type print is decorator-weight fabric.

I put the panels together first, basting the pocket fabric on. This is where my first mistake was, because I first cut the fabric not thinking about the direction of the print, so I had to piece some more duck cloth on the back of one of these pocket panels to make up for it. Oopsie.


I got to use the super-cool basting stitch on Bridget. It's so nice having a multi-talented machine! ;-)


I put the interior pockets onto one of the lining panels, using some stash fabric. I made the pockets too big at first, but instead of re-cutting and sewing again, I just made a really big hem on the top. I was being lazy. It worked though!


I made the handles out of the pink duck cloth. I have to say, that was fun :-p


Ooooh! It looks like a purse! ....a very flat one...


So. This is where things got hairy. The handles were supposed to be lined up at the bottom of the bag for the two sides to get sewn together.

Umm... nope. I was using a jeans needle, which was getting through the fabric fine, but once I got here, the needle would go in, but then when the needle shaft would go UP, the needle would stay in the fabric. Yep, the fabric was so thick that the needle was getting stuck in it and getting pulled right out of the machine. And yes, like an insane person seeking a different outcome, I tried it several times.

I really wish I had taken a picture of that. I was a little miffed.


BUT - onward and upward, right? I just ripped a little and cut a little, and then used the leftovers from the pink handle fabric to cover the bottom of the bag. As it turns out, I like how it turned out way more than what I planned. It made it look such more finished and more cohesive.


After that, I just boxed the corners and it was ready to turn!

Is it just me or does turning bags right side out make anybody else think about childbirth? You're shoving this big bag through a really small hole, and you're really excited to see how it turned out?

Just me? ok.

Obvs I don't have kids...


And finished! I think she's pretty :-p

Friday, April 26, 2013

Getting adventurous!

I got brave. I made a real bag!

I'd been looking for a summer bag that was fun and that I could take to work. It needed lots of pockets, a long-ish handle, and a zipper. I couldn't find one that I liked, so I decided to just wing it and make one myself!

I used the construction skills from the Noodlepouches I've been making, along with some inspiration from the numerous Vera Bradley bags that I have. I luuuuurve it.

This is me, however, so you know there was a lot of trial and error involved. I wasn't working from a pattern, so I had to adjust and modify my plans as I went along. I've never made a purse (I honestly never thought I'd want to!) so I really was just playing it by ear!

I'll be back soon with some of the construction process, and more details of how I went about it!


It's got 6 pockets on the outside, and three on the inside!


The pretty zipper might be my favorite part!

Friday, April 19, 2013

Last one, I promise

For a while, at least ;-)

Something really hilarious happened with this one, though. I didn't trim the zipper before I sewed around the edges. Which means I sewed the zipper into one of the boxed corner seams.

(sorry for the middle-of-the-night iphone photos...)


And I inadvertently made a little handle. Oops.

Honestly, if it had been anywhere close to centered, I would have left it.

It was not.


But I fixed it! Like the last ones I made, I used fusible fleece instead of the 911 interfacing, which made it a little too thick, especially for this size. Live and learn.

It's still cute.


All three of my little lovelies!


You can see the size differences here the best.

Friday, April 12, 2013

My first commission!!

I showed a picture of my noodlepouches to a friend of mine from work, and she asked me to make  her some. So that counts as my first commission, right? I think so ;-)

So we went to my LQS the other day, and she picked out some fabric. (In Syracuse and UVa colors!) I put them together that night, so she could take them on a trip with her. I was planning on just making the big one, but there was enough fabric left over to make the little one too.

I also used fusible fleece for the first time, instead of the mid-weight interfacing that I have been using. It was ok, maybe a little too thick for bags this size. I ended up using the regular stuff for the little bag.


Friday, March 29, 2013

Popping the (zipper) Cherry

Believe it or not, after almost 10 years of sewing, I have never sewn a zipper. They scare me. Also, my old machine didn't have a zipper foot. And was too old for me to put forth the effort of finding one. I've made a few bags before, but all of the drawstring persuasion.

Well, while I was at my LQS for my latest class, I decided I needed to grow a pair and just do it. I've been oogling Noodlehead's Open Wide Pouches forever (in my head I call them Noodlepouches, lol), so while I was there I picked up some more Luxe in Bloom, some interfacing, and the dreaded zipper.

And I went for it.

I used a heavier interfacing than Anna uses in her tutorial, because I like my bags to have a little body. It was also my first time using interfacing, and I think I'm hooked. The bag got a little crunched when I was turning it right side out, but I think that will press out fine.


The light is coming through the inside of the bag, making it look much pinker than in real life!


I used the spool of Aurifil from Sunshine Daydream to put it together and to topstitch around the outside of the opening, and it matches perfectly!


I boxed the corners and everything. I'm such a professional. (i wish!)


I'm using it to store my perle cotton from my new handwork project! I'm so stoked to make a few more of these!!

Friday, November 23, 2012

Nightshade

I hope everyone has had a good Thanksgiving!

After putting the binding on the sampler the other night, I felt like I was kind of on a roll. I decided to make an eye mask. If you haven't noticed, I do most of my quilting  late at night, which means that I end up sleeping long after the sun has come up. After I painted my room, I took down the blackout curtains - because face it, that's not cute. I had an old eye mask that I couldn't find, so i decided to make a new one. I happened to have some fq's of Nightshade by Tula Pink on hand, and that was perfect. :-)


I've never done this before (like usual...) so I just drew the general shape I was going for on a piece of muslin. I used the muslin to trace the shape onto the fabric, fussy cutting both prints.


I cut some layers of batting and blackout fabric as well, and layered everything up with the right sides of the prints together on top. Though in this picture, I haven't put the light purple print on yet...


Stitch around the top and bottom, leaving about an inch and a half or so open on BOTH ends. Turn it right side out. Mutter profanities as you do so.


Once this is done, take a length of elastic and measure it around your head while holding the mask up to your eyes.


Put each end of the elastic inside the open sides, turn the edges in to *sort of* match the edges that are already stitched. Pin like crazy. This part will be frustrating, just so you know. I ended up trimming the sides of the batting layer so that there was less to deal with when turning the sides in by hand.


Stitch again around the whole thing, securing the elastic and closing the sides. All done!


The finished product is nothing to write home about - the stitching is not straight, the pinned sides are not as smooth as I'd like, and where the elastic goes in the sides are not even! There were actually several things that I would do a little differently if I do this again;

~ I think I would go ahead and pin and stitch the elastic to the sides during the FIRST round of stitching (carefully putting the elastic in between the layers to make sure I don't stitch over more than just the ends).
~ That would leave the TOP open to turn it right side out, which would be much easier to turn in and stitch.
~ I might consider putting more batting in, to make it fluffier, or using minky or something for the side of the mask that goes towards the face. Or maybe that would be too hot?

Let me know if you've done something like this without any pattern/direction, and how it went!