You may have noticed that I've been MIA.... Not really.... But yeah.
I'm not complaining. (Even though there is no Internet here, hence my disappearing act)
Wile I'm doing a little handwork, reading a LOT, and trying not to get sunburnt, you guys should hop over to Bloglovin and follow me! Since google reader is going away and the world is coming to an end and all...
So hit me up, follow muh bloggyblog here, and check out some of the stuff I've been up to.
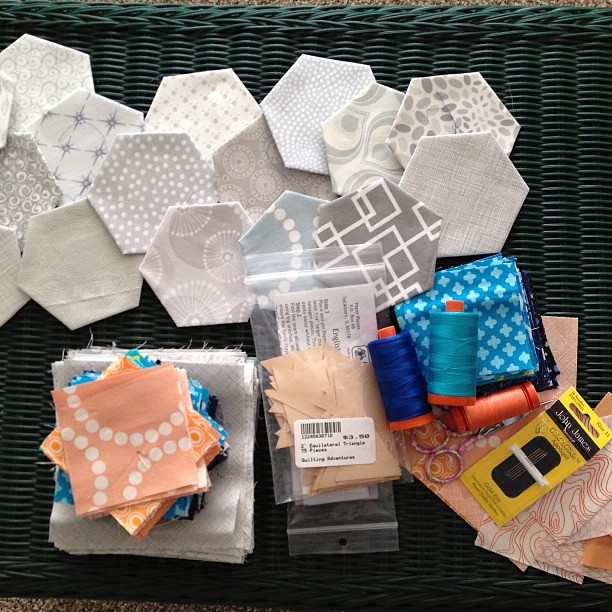
In return, I'll leave you with a little taste of what I've been working on down here...
Friday, June 28, 2013
Wednesday, June 19, 2013
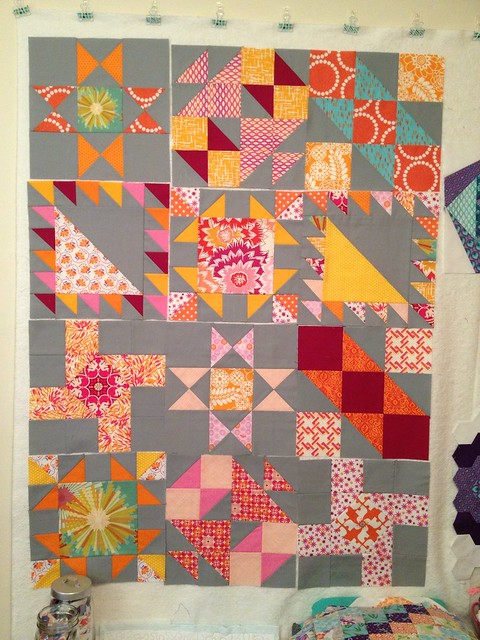
Skill Builder BOM - May blocks
I've actually had these blocks finished for a hot second, but keep forgetting to blog about them. Anywho, I had a really good time with these (for the most part!).
I've never done paper/foundation piecing before, and these were a really good introduction. I had a little bit of a hard time at first with the swirl block because I kept putting the prints and the background in the wrong spot. Seriously, like three times... you'd think I'd figure it out...
BUT, once I had that all straightened out, it came together pretty quickly, and I really like the process. I don't, however, like the mess of paper that happens when the back has to come off. But oh, well. I'll definitely be doing more paper piecing in the future!
I fussy cut a larger scale print for this block, instead of putting on the applique circles the pattern call for. I like the effect!
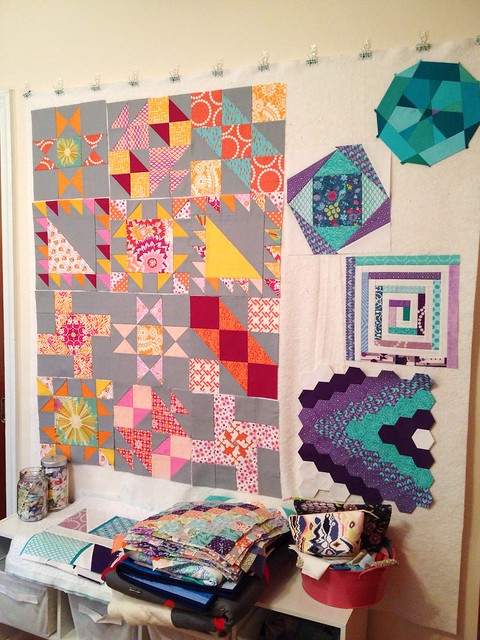
Here are the last two months worth of blocks on the design wall along with the blocks for the Sisters Ten BOM that I'm also doing this year. I like how different these projects are - it keeps it interesting!
Sunday, June 16, 2013
Stashtastic Sunday - Organizing!
So my stash has been getting out of hand. Not growing too fast, luckily, but just getting messy. And I'm running out of room, if I'm honest.
If you remember from this post, I re-did everything not too long ago. (ok, it was longer ago than I realized...) Here is how everything looked at the last house tour:

I really like the mini-bolts, but I was at the point where things were getting put away two layers deep, and I was forgetting about stuff I had already bought. This is how I ended up with several yards of the same Architextures print. Not that I mind about having more of that, but I do love some variety instead of buying the same things over and over, you know? At least it means my taste is consistent ;-)
I wish I had taken a before picture recently, but I just jumped in one day and started moving things around.
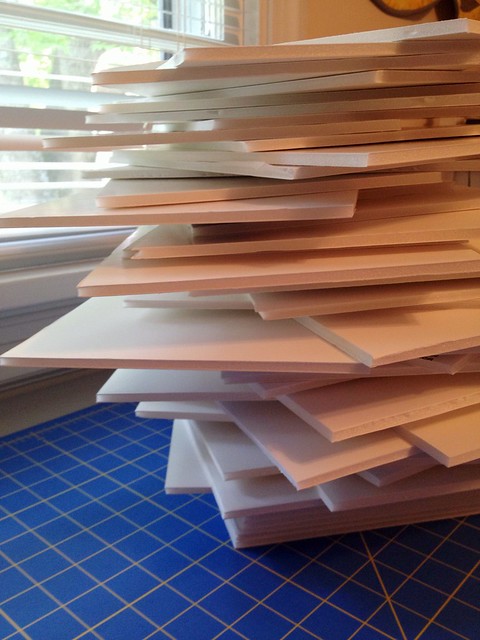
First I took everything off the bolts, and was left with a hefty stack of empties...
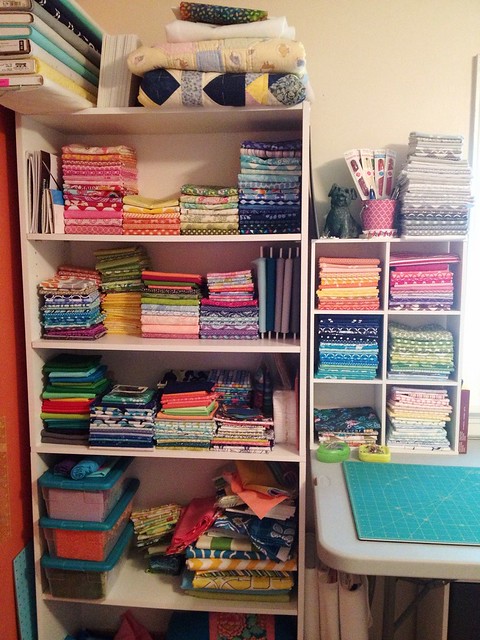
Then I put everything back all pretty :-)
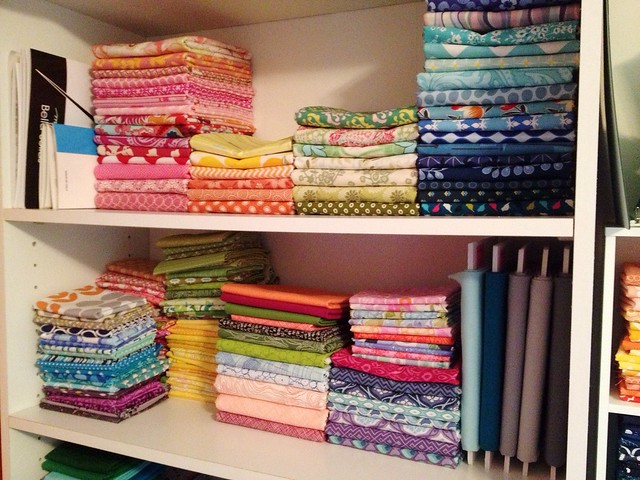
I organize fabric by size of cut, and then by color. The FQs are on the second shelf, and I honestly try not to buy too many of those anymore. They're just gone too fast!
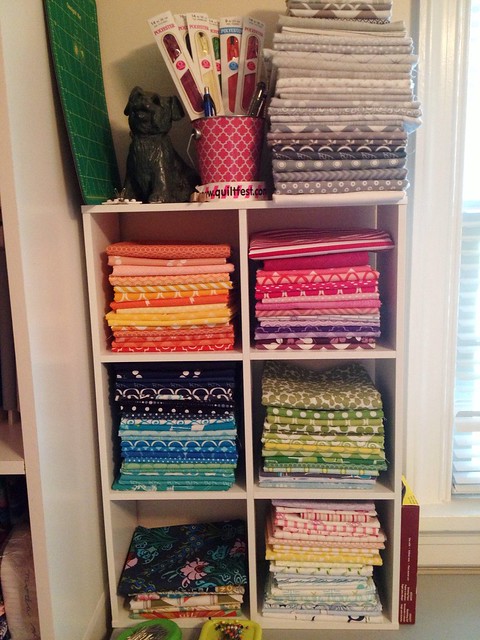
The half yards are on the little shelves to the right, and the 1-2 yard cuts are on the top two shelves. The second and third shelf have collections that I want to keep together instead of organizing by color. There are also a couple stacks that are pulls for projects I haven't started already. I also kept the solids on the mini-bolts because I use the foam board to label the solids with maker and color, since they don't have a printed selvage.
I like it! We'll see how long it lasts...
P.S. this post makes me think I need to invest in a decent camera (i.e. not an iphone!) sooner rather than later.
If you remember from this post, I re-did everything not too long ago. (ok, it was longer ago than I realized...) Here is how everything looked at the last house tour:

I really like the mini-bolts, but I was at the point where things were getting put away two layers deep, and I was forgetting about stuff I had already bought. This is how I ended up with several yards of the same Architextures print. Not that I mind about having more of that, but I do love some variety instead of buying the same things over and over, you know? At least it means my taste is consistent ;-)
I wish I had taken a before picture recently, but I just jumped in one day and started moving things around.
First I took everything off the bolts, and was left with a hefty stack of empties...
Then I put everything back all pretty :-)
I organize fabric by size of cut, and then by color. The FQs are on the second shelf, and I honestly try not to buy too many of those anymore. They're just gone too fast!
The half yards are on the little shelves to the right, and the 1-2 yard cuts are on the top two shelves. The second and third shelf have collections that I want to keep together instead of organizing by color. There are also a couple stacks that are pulls for projects I haven't started already. I also kept the solids on the mini-bolts because I use the foam board to label the solids with maker and color, since they don't have a printed selvage.
I like it! We'll see how long it lasts...
P.S. this post makes me think I need to invest in a decent camera (i.e. not an iphone!) sooner rather than later.
Friday, June 14, 2013
Sisters Ten BOM - June blocks
These might be the quickest blocks I've ever done. Ever. It was so gratifying. The blocks in this BOM have all been pretty straight forward, but some have taken longer than others!
I put a little bit of blue into this block, to reference a fabric I used in January.
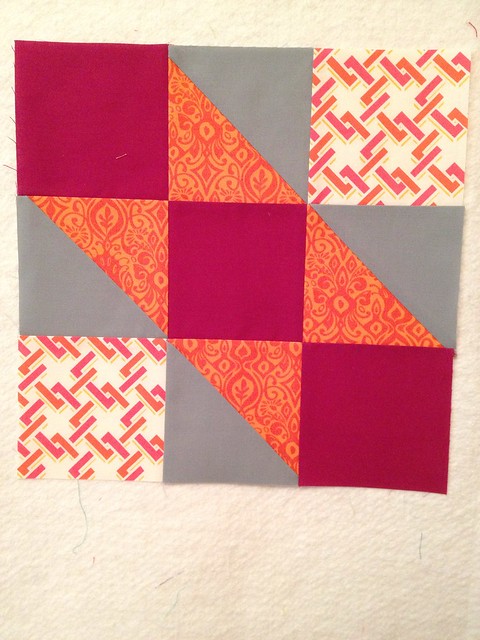
And I lovingly call this one my Virginia Tech block (my alma mater). Our colors are maroon and orange. Which are an acquired taste, I'll admit...
And here are all of the blocks so far:
I put a little bit of blue into this block, to reference a fabric I used in January.
And I lovingly call this one my Virginia Tech block (my alma mater). Our colors are maroon and orange. Which are an acquired taste, I'll admit...
And here are all of the blocks so far:
Wednesday, June 12, 2013
Wonky Cross in the making
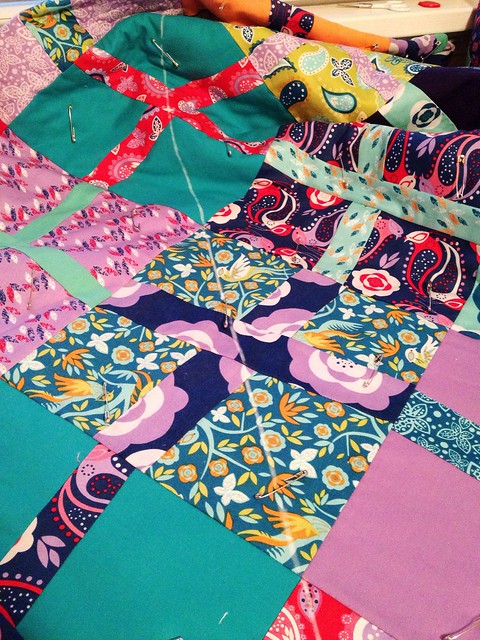
So here are some "in progress" pictures of the Wonky Cross quilt. I really liked this one, because I used a couple new techniques this time!
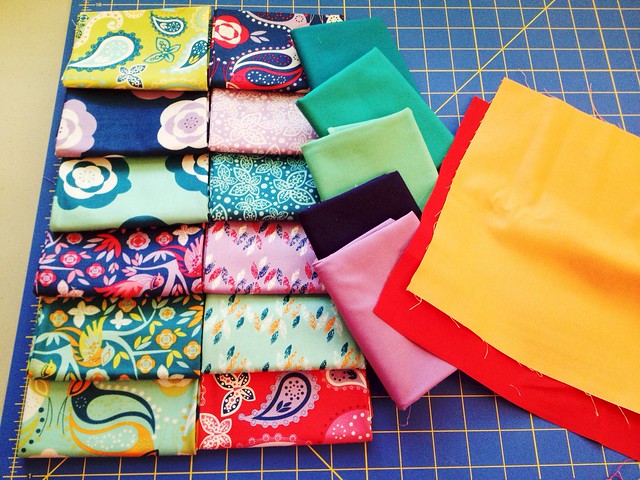
I started with this pull - I didn't buy ANY new fabric for this quilt! I think that's a first ;-) The FQs on the left are a set that I got quite a while ago, but never decided what to do with them. The solids are all from my stash, the teals are from this block from a few weeks ago.
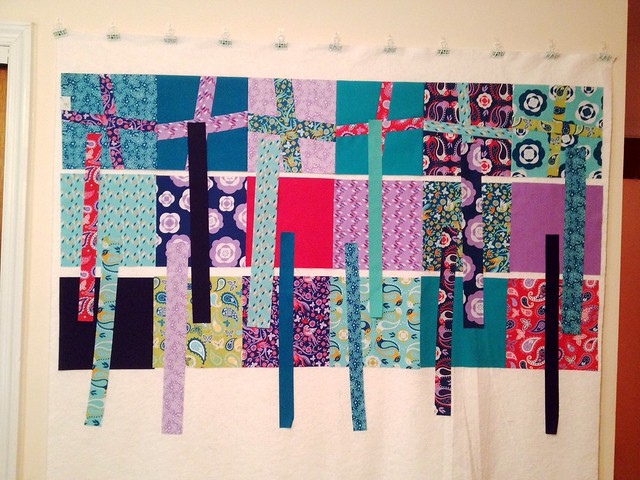
Here are the blocks on the wall as I was deciding which strips went with what blocks. It was fun. :-p
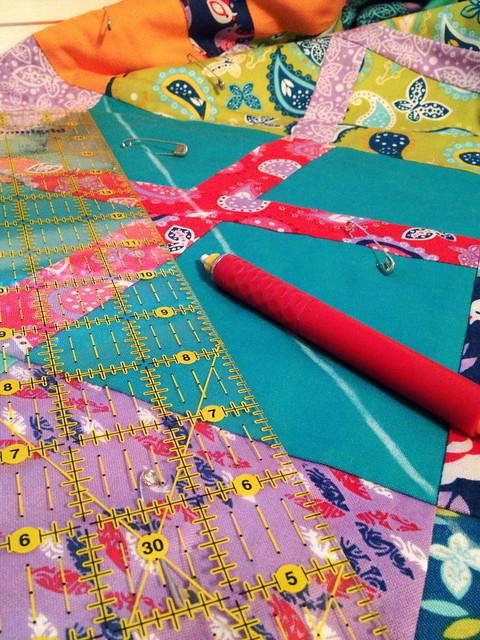
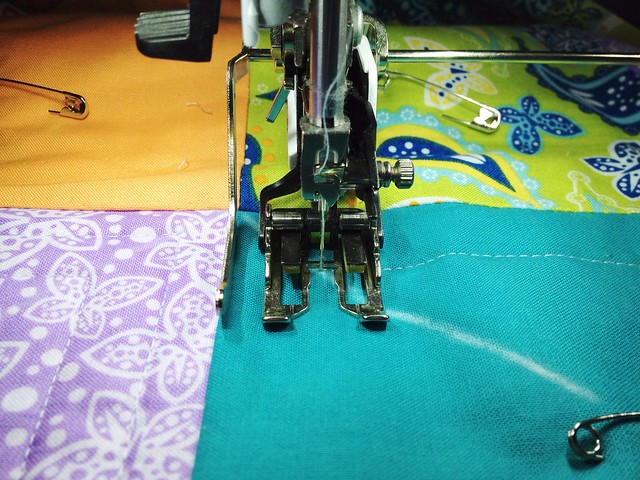
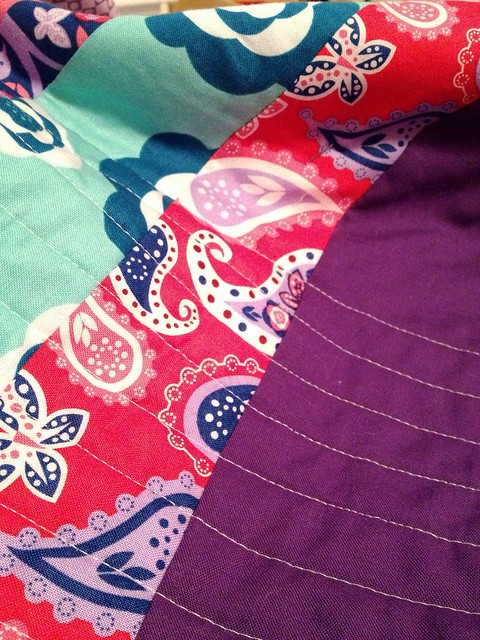
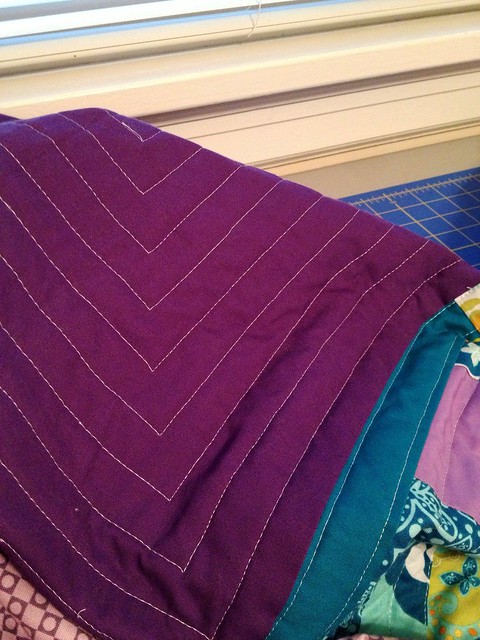
I did straight line quilting like I've done a bunch before, but this time I did a little different pattern. I used a bar guide and made the lines about 3/4" apart in a large cross pattern. I drew some lines in chalk through the blocks so that I would know where to turn so that the corners of the lines would line up just right.
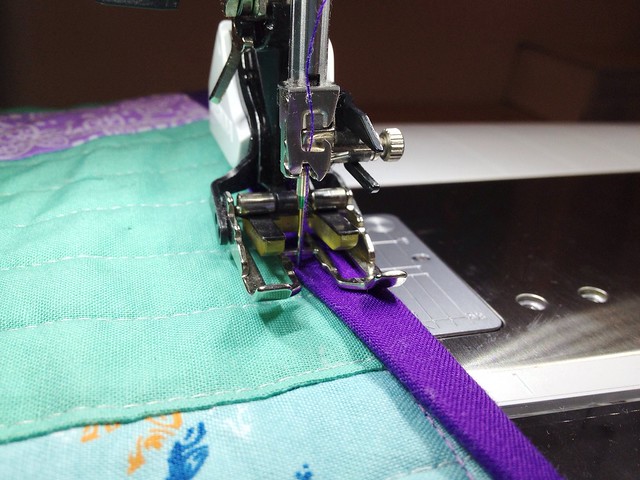
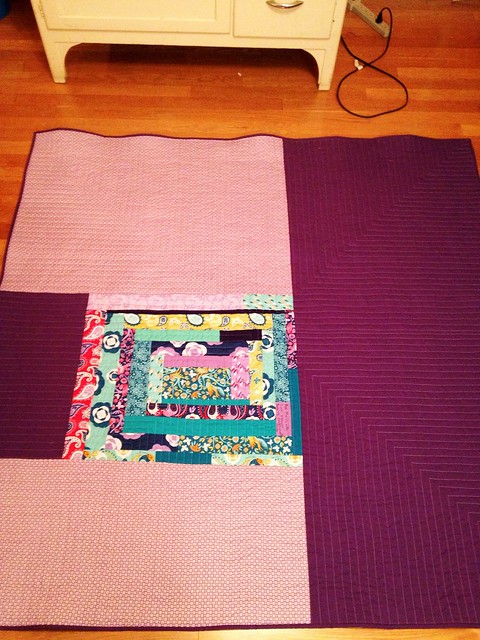
I already mentioned that I did a pieced back, and I also did the binding by machine as well. The binding was SUPER fast by machine! I only did it this way because of the time crunch - I finished it at about 430 in the morning on Saturday, and was meeting my friend that same day to give it to her. I like it ok, it definitely speeds things up! I don't like how the stitch line shows up on the back, so I'm going to have to work on getting the binding to be the same width on the front and back. Or closer, at least!
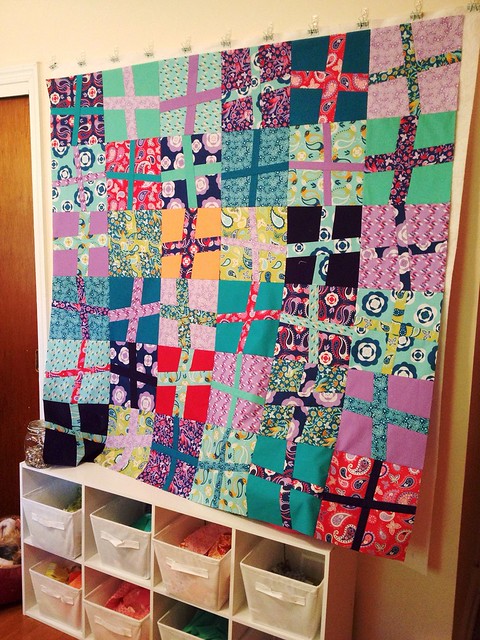
Here is the top finished, before quilting ~
Monday, June 10, 2013
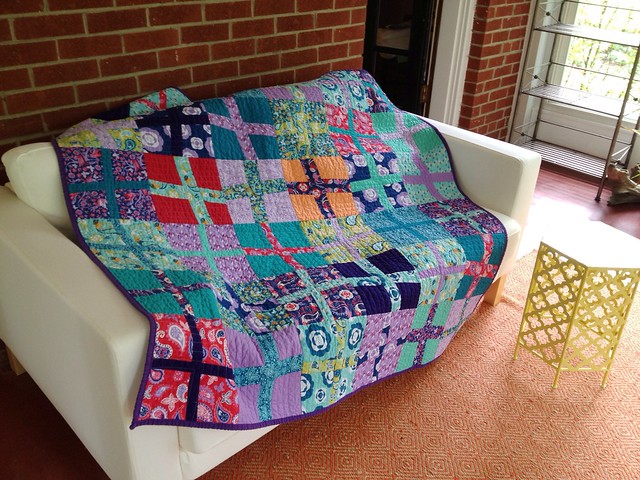
Wonky Cross Quilt
Remember the sneak peeks from last week? Well, here is the finished product! (Sorry the picture is so dark - it was very dreary outside!)
I made this quilt for a good family friend whose husband passed away recently. She and my Mom were very close, so it was important to me to do something for her.
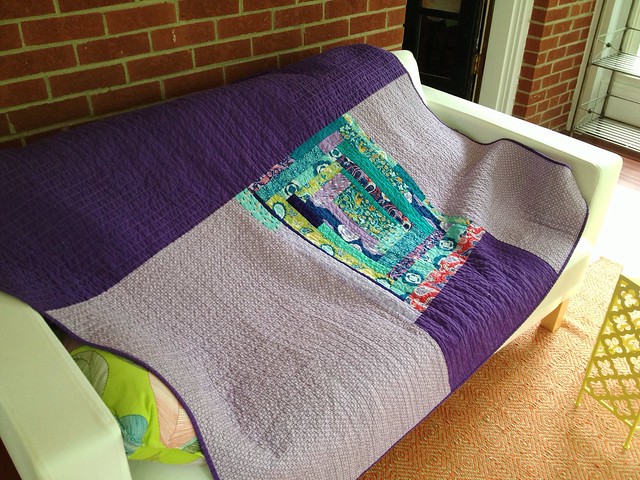
This is the first time I've done this block, and it was really quick! I started the top on Monday, and after three sessions had the whole thing finished, quilted and bound! I did some straight line quilting, and I also did the binding by machine for the first time. I also pieced the back for the first time! I really liked that process.
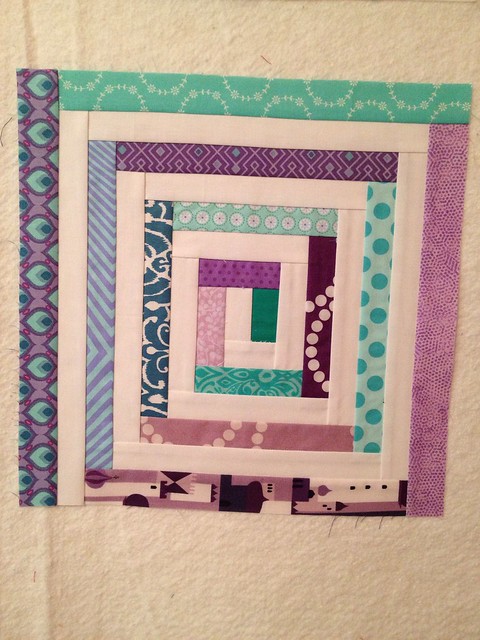
I just used some of the scraps to make a big improv log cabin block for the back, and used some stash fabrics for the rest.
So this little number is done and gifted! I'll share more this week about the process!
Friday, June 7, 2013
The one where quilting made me sick
This isn't technically a finish... But it will be by the end of the day!
I'm working on quilting my sneak peek quilt. I did about a quarter of it the other day, so I've got a good start. I'm planning to finish it up this afternoon/evening. The goal was to have it done by tomorrow morning to be ready for gifting. Hopefully that will work out!
But something weird happened this morning... I came home from work with a peevish mood and a raging headache (which rarely happen. The headaches I mean :-p) so I wanted to do something fun. I started quilting this quilt, and after about 45 minutes, I was getting motion sick! Crazy! (I'm one of those people who can't read in cars. Or really look anywhere but out a window without getting gross feeling)
So now I'm in bed with some crackers, planning to sleep it off. Its a good day for that, nice and rainy! I hope you guys have a great day!
Wednesday, June 5, 2013
WIP Wednesday, sort of...
This isn't a typical WIP Wednesday post, because my WIP of the moment is something I'm not ready to share yet!
But of course, I'm a big fan of sneak peaks!
This top is already pieced, and its been basted and quilted about 1/4 of the way. I never remember how much basting sucks until I'm crawling on the floor. I guess it's my fault for always making quilts that are too big to be basted on a table!
I should be ready to share it sometime next week, hopefully!
Monday, June 3, 2013
That time I had to un-do my un-doing...
Or, alternately, "how I managed to screw up one of the easiest blocks in the history of the world."
I tell ya, my blog earns its name.
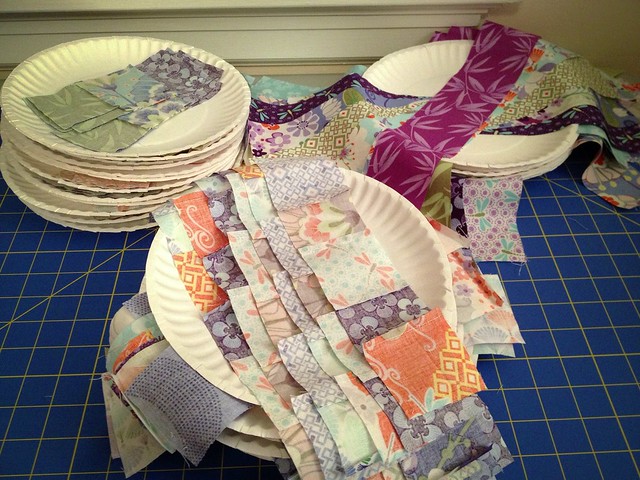
I've been making progress on my scrappy trip, and the other day I had a big ol' stack of blocks that were at the point where they were in the little pieced strips, but still needed to be seam ripped into the different strips for the block. Go here if you are royally confused. I'll wait.
See the pile of plates on the top left? Those are the ones to which I refer...
Ok, so these blocks and I were sitting on the couch, watching netflix and seam ripping (Prison Break, I think?) and apparently, I can't multitask that well.
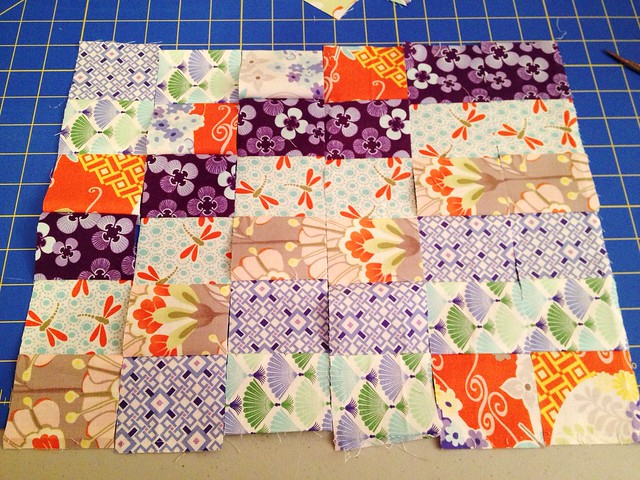
Because this happened:
Yep. Somethings not right... At least I figured it out before I put the whole block together. But I had to seam rip the two rows I put together, and then re-piece the strips that were wrong, and then seam rip them at the right places, and then sew the rows back together to make the block.
I'm a winner.
BUT! I have a pretty stack of blocks that are all done and ready to be pressed and trimmed. So yeah, I win.
They're very fluffy. I have the urge to squish them.
Subscribe to:
Comments (Atom)

